


Anyone who has a Plex server will tell you that there are countless ways to access it. Plex has apps out for just about any device or OS you can think of. When it comes to watching Plex on a HDTV, most people plug in a Roku or Chromecast and call it a day. While this obviously works, the interface is a little slow and clunky and you wind up with a functional solution without much wow factor.
One way people solve this is by building a HTPC so that they are in control of the power and performance. The issue is that even the most frugal shopper will still spend over $200 for anything worth while. That is no longer the case...
Why do this over a Roku, Chromecast, or Fire TV?
Each streaming stick/box, while usable, comes with some limitations.
The Roku has a somewhat clumsy interface. Plex is forced to follow the Roku guidelines, and it doesn't make for a pleasing interface. The Roku will do AC3 and DTS surround formats, but not TrueHD or DTS-HD.
The Chromecast has a hard bitrate limit of 12mbps. In the past, you could patch around that, but that is getting harder and harder to do. It also only supports AC3 and AAC for surround sound, with no support for DTS or the HD codecs ever coming.
The Fire TV only supports AC3 surround sound, after you tweak the profile in the settings. Any other format gets downmixed to stereo before getting sent to your Fire TV.
Using the Chromebox and following this guide gets you a real Plex client, that supports fan art, multiple users, channels, and supports ALL surround sound formats. You get the FULL Plex experience!
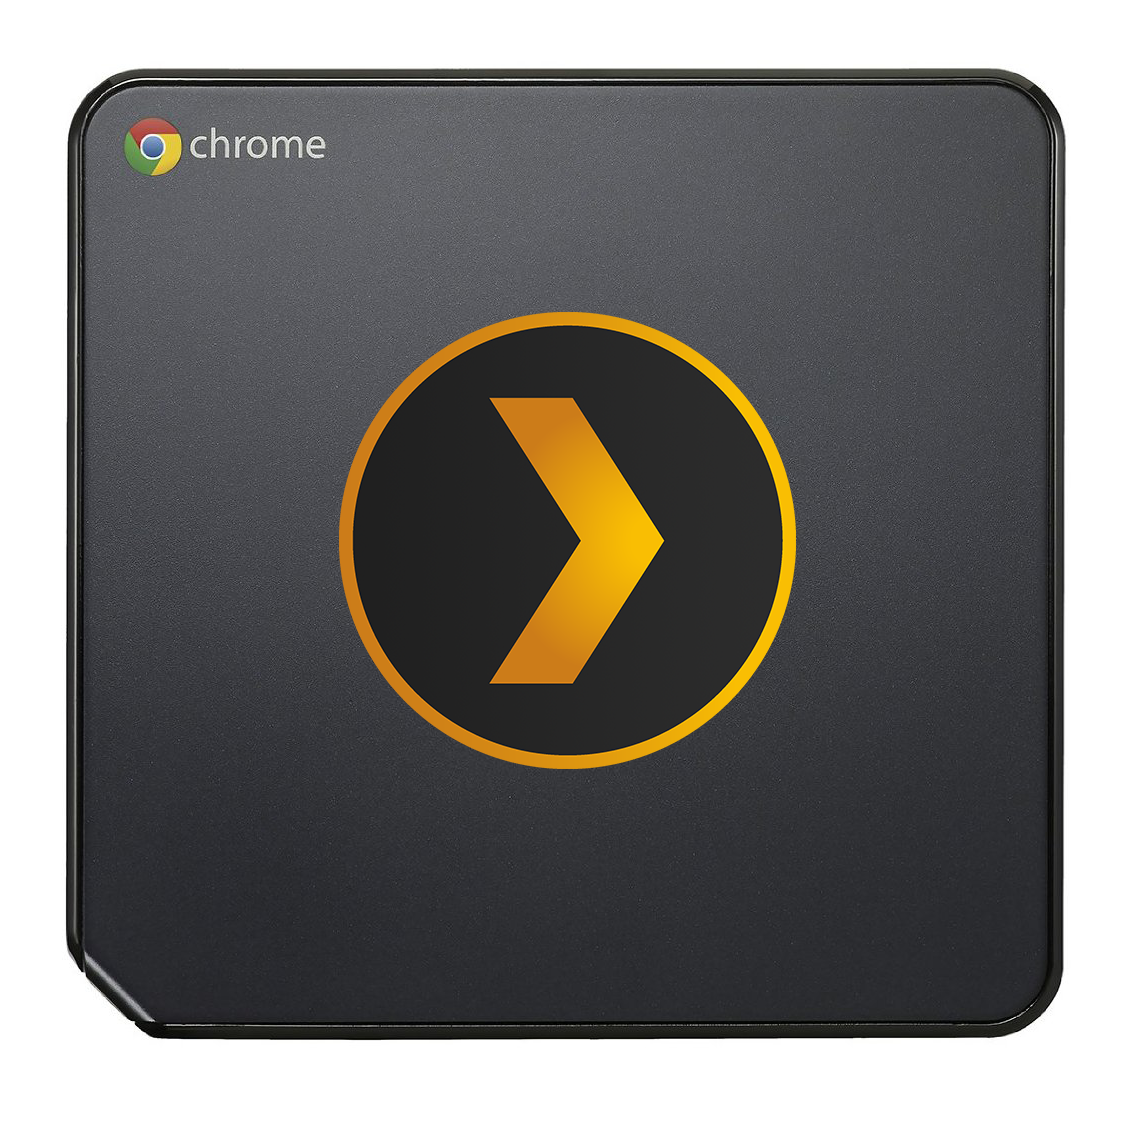
Chromebox
A Chromebox is a small form factor desktop PC that is loaded with Chrome OS. Several manufacturers make the devices and they come in different tiers of hardware, but there is one group which is ideal for our purposes.
The model we will be focusing on is the ASUS Chromebox M004U.
Specs
- Intel Celeron 2955U (Haswell based, dual-core processor, clocked at 1.4 GHz)
- 2GB DDR3 RAM
- 16GB SSD
- Gigabit ethernet
- Dual-band WiFi a/b/g/n
- Bluetooth 4.0
- HDMI and DisplayPort (including simultaneous output)
- Memory card slot
- Headphone jack
- 4 USB 3.0
We will be using it for our home theater purposes, and it is more than capable of the job:
Media capabilities
- Full hardware acceleration for H.264/MPEG-2/VC-1
- True 24p output
- 7.1 channel sound, supporting AC3, DTS, TrueHD and DTS-HD bitstreaming (pass-through)
The two places that people may run into trouble are:
- While it supports 3D MKVs, it does not support 3D Blu-ray rips
- 10-bit video is software decoded. Most files work fine, although 10-bit 1080p files are right at the edge of the processor's power and you may notice some dropped frames.
Price
The price is what makes this box so attractive. It fluctuates based on demand, but it is always found for under $170. Below I have included a price tracker showing the price over time. If you see it for $150 or less, grab it immediately.


Other manufacturers
The ASUS is the most popular (and the one I used for this guide), but the HP CB1 and Dell 3010 are identical with slightly different looking cases and a few other minor differences. The HP has a louder fan and only one DIMM slot so it's tougher to upgrade the memory. If you see those for cheaper, you can get it and follow this guide step-by-step. The Acer CXI has the same hardware, but with a different form factor. The software steps of this guide will apply, but not the hardware part. Only buy that model if it's significantly less than the ASUS, HP, or Dell.
Removing Chrome OS and replacing with OpenELEC (Plex)
Before we begin, you should hook up the Chromebox and use it for a few minutes. There's no guarantee that ASUS will honor the warranty after we pull the box apart, so make sure that your system works properly first.
What you will need
- Standard PC sized phillips head screwdriver
- Small flat head screwdriver
- Flash drive (512MB or larger)
- Paper clip
- USB keyboard
Step 1: Disabling firmware write protect
The Chromebox has a write-protect screw in that we will need to remove to swap out the OS.
Flip your Chromebox over and use the flat head screwdriver to pop off the rubber feet, exposing the screws. Then use the phillips head screwdriver and remove the four corner screws.
You now need to separate the bottom cover from the rest of the Chromebox. It is a friction fit, so it might seem a little tough to remove. The top of the Chromebox can also come off which we don't want. The easiest way I've found to do this is to squeeze the small flat head screw driver under the bottom of the power button and lever the bottom of the case up.
Once the bottom of the case is off, remove the write screw pointed out in the picture below. We won't ever need to put this screw back in, so now work in reverse and close the Chromebox back up.
Step 2: Enabling Developer mode
We now need to switch Chrome to developer mode so that we are able to make changes to the system. With the system powered off, insert the paper clip into the hole to the left of the memory card slot. This is the recovery button we are pressing. With the button pressed, press the power button, and then remove the paper clip once the system starts up.

Using a typical wired keyboard, press Ctrl+D and then follow the instructions.
Chrome will then wipe your data and reboot the system into developer mode. This may take a few minutes.
When this completes, you will notice a message on boot up that says OS verification is OFF. Do not press the space bar, or you will need to restart the process. Leave the system for 30 seconds, and it will eventually boot up into Chrome OS.
Step 3: Installing coreboot firmware
Once Chrome OS is booted, verify that the wireless connection is configured and working with the menu in the bottom right of the screen. Do not log in.
Press CTRL-ALT-F2 which will bring up a command prompt. Use the username chronos and press enter. You do not need to put in a password. Now enter the following two commands:
curl -L -O http://goo.gl/3Tfu5W
sudo bash 3Tfu5W
If all goes according to plan, you will see the ChromeBox E-Z Setup menu. There are a lot of different options you can choose here, but we will be using option 5. If you want to read up on other options, you can see all the details in this forum post.
Once you agree to the warning and follow the steps to backup your current firmware and flash the new one, go ahead and turn the Chromebox off for now.
Step 4: Creating OpenELEC install media
On another computer, download the latest version of the Plex for OpenELEC installer from here. Download the one that begins with OpenELEC-Plex-Generic. To read more about this build of OpenELEC, read the authors notes in this forum post.
Once you have downloaded the tar file, extract it somewhere with 7-zip. In the extracted folder, you will find create_livestick.exe. Plug in your USB drive, make sure there's nothing important on it, and then run this program. Follow the prompts and it will image the drive for you. You can leave all of the options at their default values.
Step 5: Installing OpenELEC
Insert the new USB stick into Chromebox and power it on. Before the BIOS times out, press ESC to reach the boot menu. Choose the USB drive from the list.
When the OpenELEC menu pops up, press one of the arrow keys to stop the menu timeout. By default, OpenELEC will run off the USB disk. We are building a standalone system though, so switch to Run OpenELEC Installer.
When the installer starts up, select Quick Install of OpenELEC. It will first ask you to choose the drive to install to. You should only have one option, ATA_SanDisk_SSD_U110_16.0GB. Select OK.
For Use GPT partitions, select No.
Next it will ask if you want to Enable SSH server per default, choose Yes.
Finally it will confirm that you want to wipe the drive, select Yes.
After a quick install (it should only take a few seconds), you will be returned to the main menu. Move over to Reboot and press enter. You can now remove the USB drive.
Step 6: Configuring Plex for OpenELEC
If the install was successful, you should be greeted with this boot screen:

On the first boot, you will see the OpenELEC configuration screen. You may notice some weird flickering in these menus, don't worry about that. This is caused by a bug that we will fix shortly.
The first one will ask you to set your language and keyboard settings. Change them appropriately and select Next.
The next screen will ask you for a hostname. This is the name that the computer will use on your network and the name it will show to other Plex clients. Enter whatever you would like, or leave it as OpenELEC. This doesn't really matter.
The following screen will let you choose your wireless network. If you are using an ethernet connection, you can simply press Next. Otherwise select your network from the list and press Enter. It will ask you to enter the password if you have one. Select Next when you are connected.
The last screen is for setting up Sharing and Remote Access. This is more relevant for people using OpenELEC for Kodi (not Plex), so we can select Next and not worry about it.
After finishing the OpenELEC configuration, we now have to work through the Plex Home Theater setup. First up is selecting the audio connection. Select Analog / Built-in speakers if you are plugging an analog connection into the headphones port on the Chromebox. Otherwise, leave it set to HDMI Audio Connection.
The next screen will ask you to log into MyPlex. You can use the PIN or enter your credentials manually. If you are on the same network as your Plex server and don't use MyPlex, you can select Cancel. After signing in, you are brought to the main menu.
Before diving in, we need to fix that annoying flashing bug that you've surely seen by now. Press left on the keyboard and then go to Preferences and press enter. Choose the System section (the cog icon) and then go down to Advanced. For the Vertical blank sync, change it to Enabled during video playback.
That is the only required change, but you still may want to go through the menus and see if you want to change anything else. For instance, the regional settings default to the first options in the list (Australia, etc), so you should change those to the correct values.
Once that is all set, enjoy your new Plex Home Theater HTPC. Plugging in an HTPC remote control should work without any configuration. You can also select your Chromebox as a remote player in your Plex phone app or from the web app and control it that way.
How to update in the future
Because this is a modified build of OpenELEC, the built-in updating mechanism does not work. To learn how to install a script that will automatically install new builds, follow this short guide.